
TII Stand-alone eng
There are several ways to use the stand-alone version of Turnitin:
1. Quick Submit: upload documents yourself
With Quick Submit, as a teacher, you can quickly submit individual documents to check for plagiarism. This is useful for one-off or individual files, but because the documents are always submitted under the teacher’s name, this option is not suitable if students have to submit work themselves.
2. Classes and Assignments: Allowing students to submit
If you want students to submit their own work outside of Brightspace, you can create a Class with an Assignment in Turnitin. Students can then upload their files directly. This method is functional but requires more time and management. Therefore, we recommend setting up assignments via Brightspace whenever possible, as it is more user-friendly.
3. Submitting via Osiris Case
For the official submission of theses and final projects, there is the route via Osiris Case. This aligns with the formal university procedures and is therefore the designated method for graduation work.
More information about this can be found on the page Usage via Osiris Case.
Below we explain the different options step by step:
1. Quick Submit: upload documents yourself
1.1 Quick Submit button
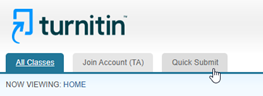
- Go to this link
- Click the Quick Submit button on the homepage.
Note:
If you do not see a ‘Quick Submit’ button, please read 1.5.1 Logging in to enable Quick Submit
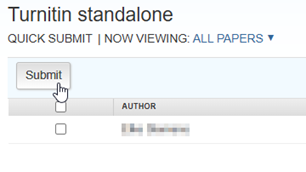
1.2 Start the upload
- Click on ‘submit’.
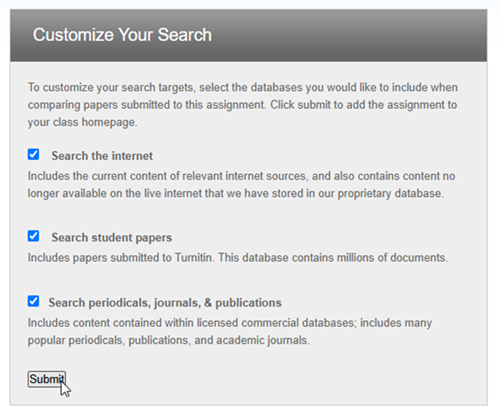
1.3 Choose database
- Select the databases against which the document should be checked. The advice is to check all three options here to find as much potential plagiarism as possible. You must select at least one option here.
- Then click on Submit.
1.4 Upload the document
- In the next screen, enter the student and document details, and select the document. Then click on upload.
- On the next screen, click on Confirm to confirm. Here you can then upload one or more files, or a zip folder with multiple files.
1.5.1 Logging in to enable Quick Submit
- To use Quick Submit, it must be enabled in a user’s personal settings. Follow the steps below to do so.
- Log in via this link with your employee Solis-ID:
1.5.2 User Info
- Click on User Info at the top right next to your name.
1.5.3 Activate Quick Submit
- In the settings menu on the right is the setting Activate Quick Submit, make sure it is set to Yes.
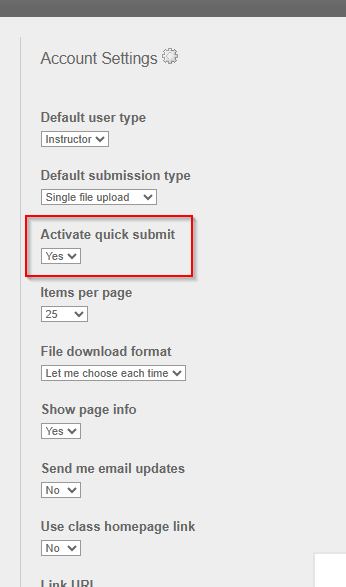
- Then confirm the new setting by clicking on Submit in the bottom left.
2. Classes and Assignments: Allowing students to submit
To allow students to submit, a class and assignment must be created in Turnitin. Follow the steps below to do this.
2.1 Log in
Log in via this link with your employee Solis-ID:
After logging in, you will be in the Turnitin environment with the ‘Instructor’ role.
2.2 Creating a class
- Create a class: To create a new Class, fill in the required fields on the ‘Create a new class’ page. Fill in the following fields there:
- Class type: Choose ‘Standard’ here
- Class name: Enter a clear name for the Class
- Enrollment key: Enter a self-chosen password. Students will need this key to enroll
- Subject area: Choose one of the options, this has no further effect on the process
- Student level: Choose one of the options, this has no further effect on the process
- Class end date: After this date, the Class will no longer be available
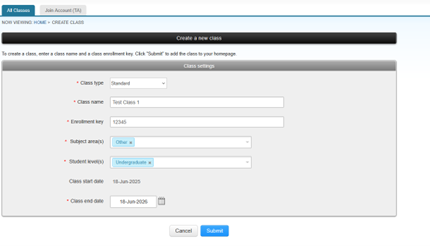 2. Confirm: Click on Submit to create the Class.
 - Save data: After creation, a screen will appear with the Class ID and the chosen Enrollment key. Save this information carefully, as students will need both to enroll.
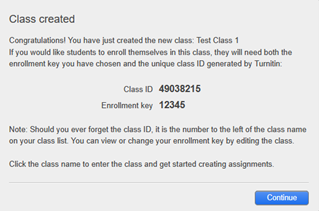
- Finish: Continue: You have now successfully created a Class.

2.3 Creating an ‘Assignment’
- Navigate: Click on the name of the newly created Class.

- Add: Click the Add Assignment button.
- Fill in details: Fill in the information for the assignment.
- Title: Give the assignment a title.
- Dates: Set a Start Date, Due Date and Feedback Release Date

- Settings: It is recommended to leave the Optional Settings at their default values.
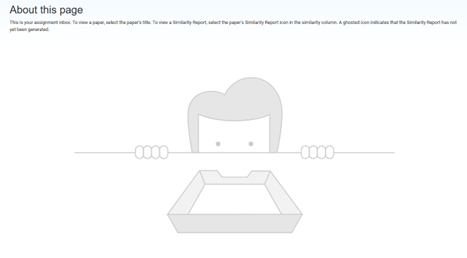
- Create: Click on Submit. You are now in the ‘assignment inbox’, which is currently empty.
2.4 Creating an ‘Assignment’ for confidential documents that will not be stored in the database
- Navigate: Click on the name of the newly created Class.
- Add: Click the Add Assignment button.
- Fill in details: Fill in the information for the assignment.
- Title: Give the assignment a title.
- Dates: Set a Start Date, Due Date and Feedback Release Date
- Open the drop-down menu under Submit papers to and select the option Do not store the submitted paper

- Then click on Submit. You are now in the ‘assignment inbox’, which is currently empty.
2.5 Viewing and grading submissions
- Overview: As soon as students submit work, the submissions will appear in the ‘assignment inbox’. You can open this overview by clicking the View button of an assignment.

- Open submission: To view a specific submission, click on the title of the paper.
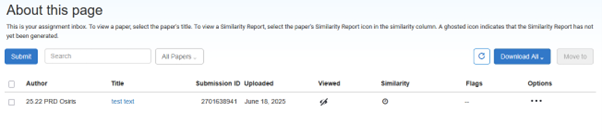
- Originality Report: To view the originality report, click on the icon in the Similarity column. A gray or ‘invisible’ icon indicates that the report has not yet been generated.